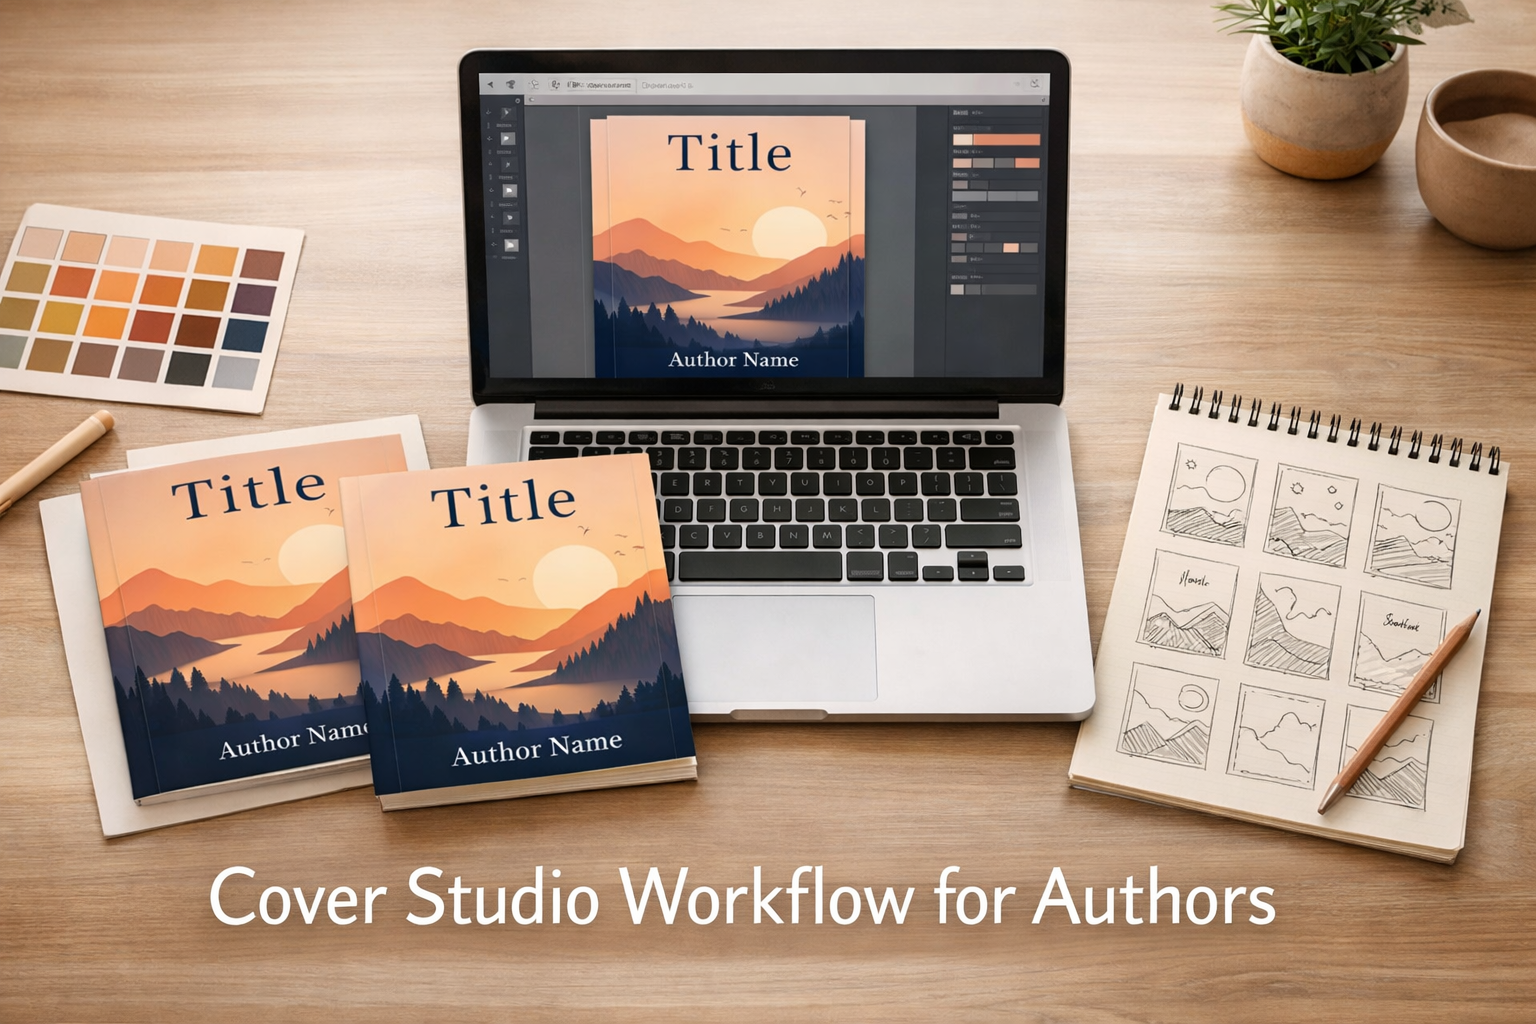
Many self-publishing authors who type “cover studio” into Google are looking for the same practical thing: a reliable way to create a professional book cover that works as a thumbnail online and as a print‑ready file for KDP or other printers. This article explains how to evaluate a “cover studio” tool, what production steps matter most, and a repeatable workflow for turning an idea into a publishable cover.
What people usually mean by “cover studio”
Searchers use “cover studio” in two ways. Some mean a specific product or website that offers templates, AI artwork, or a cover editor. Others mean the broader idea of a cover‑design workspace — the set of tools and checks you use to produce both a thumbnail‑friendly ebook cover and a print wrap for paperbacks and hardcovers.
If you are evaluating a product that calls itself a cover studio, your priority should be whether the tool helps you do three things: produce genre‑appropriate artwork, convert that artwork into correct sizes for each edition, and export files that meet platform requirements (Amazon KDP, Ingram, ACX, etc.). For step‑by‑step production guidance, see the detailed walkthroughs in the Cover Studio AI knowledge base such as AI Book Cover Creator for Amazon KDP and How to Create a Professional Amazon KDP Paperback Book Cover in 2026.
Checklist to evaluate any “cover studio” tool
Before committing time and money, run a quick evaluation using these practical questions. They focus on whether a tool supports production, not on marketing claims.
- File and export control: Can you export front‑only and full‑wrap covers as high‑resolution PDFs or PNGs with configurable bleed, spine width, and barcode space? If the tool abstracts spine calculations, verify the math or check it against a spine calculator.
- Template and trim support: Does the tool offer templates for common trim sizes (6×9, 5×8, mass market, etc.) and for both front‑only ebooks and full‑wrap print covers?
- Thumbnail testing: Does it let you preview and download small thumbnails so you can judge legibility at 120×160 and smaller sizes?
- Typography and layout controls: Can you lock type, adjust kerning/leading, and place text inside safe margins? Are commonly used commercial licenses for fonts available or used?
- Image licensing and quality: Does the tool clarify image licensing and deliver images at 300 dpi or vector export when needed for print?
- Preflight validation: Are there checks for bleed, safe zones, spine width vs. page count, image resolution, and barcode placement? If not built in, will the tool’s exports work with a separate preflight checklist like the Amazon KDP Cover Preflight Checklist?
- Editable exports: Can you save or export editable project files so you can make late corrections without rebuilding the cover from scratch?
- Versioning and asset management: Does the workspace let you store cover drafts, variant thumbnails, or alternate colorways for A/B testing?
A practical workflow using a cover studio mindset
Below is a reproducible workflow that helps you move from idea to publishable file while avoiding the common mistakes self‑publishers encounter.
1. Start with format and market research
Decide which editions you will publish: Kindle only, paperback, hardcover, audiobook, or a combination. Your format decision shapes image choices, typography, and file requirements. Use guides such as Kindle vs. Paperback vs. Hardcover: How to Create the Right Cover for Every Book Edition and What Book Cover Size Should You Use? to confirm practical trim sizes for your genre.
2. Thumbnail first — design for the smallest view
Online sales are decided by thumbnails. Your cover studio workflow should begin with a thumbnail concept: big, legible title; distinct focal artwork; and a strong color contrast. Many authors and designers test multiple thumbnails at 150×240 or smaller and choose the most readable option. If a tool calls itself a cover studio, verify it can preview and export thumbnails easily.
3. Confirm genre signals and hierarchy
Good covers communicate genre in a glance. For fiction, focus on a single compelling image and a clear title hierarchy. For nonfiction, rely on bold typography, readable subtitle, and supporting imagery or badges. If you need genre examples and best practices, see How to Design a Fiction Book Cover That Looks Professional.
4. Source artwork and confirm licensing
Whether you create artwork with AI, commission an artist, or use stock images, confirm commercial licensing and resolution. For KDP print, raster images should be 300 dpi at final print size. If you use an AI art feature inside a cover studio, check the licensing terms and save high‑resolution originals.
5. Build the front cover with print margins in mind
When moving from thumbnail to full‑wrap or front panel, respect the safe area and bleed. Use a template for your chosen trim size and set the bleed to at least the printer’s recommended margin (KDP typically requires 0.125 in / 3 mm bleed, but always confirm current specs). If your cover studio offers spine calculators, cross‑check spine width with your manuscript’s final page count. See How to Calculate Book Cover Size for Amazon KDP for the formulas behind spine width and full‑wrap size.
6. Create the full‑wrap and back cover layout
If you’re publishing a paperback or hardcover, design the back cover with a readable blurb, author bio or photo, and a reserved area for the barcode. Keep the back layout uncluttered so the blurb is scannable. For specifics on arranging a back cover, consult How to Design a Book Back Cover.
7. Typography: readability before ornament
Choose fonts that remain legible at thumbnail size. For the title, aim for high x‑height and generous tracking. Save decorative or script typefaces for secondary elements only if they remain legible at small sizes. If you need a deeper primer on font selection, see How to Choose the Right Book Cover Font for Amazon KDP.
8. Preflight and export
Before you upload to KDP or another printer, run a preflight checklist: correct trim size, bleed, spine width, safe margins, 300 dpi images, and barcode space. Use the Amazon KDP Cover Preflight Checklist to confirm each step. Export both a print‑ready PDF (for full wrap) and a front‑only high‑res PNG/JPEG for ebook and thumbnail use. If your cover studio can export editable source files, save them for future revisions.
Common cover mistakes a good “cover studio” workflow prevents
- Exporting a front panel only when a full‑wrap is required for print (or vice versa).
- Ignoring thumbnail legibility — tiny text and low contrast that reads well at full size but not as a thumbnail.
- Miscalculating spine width, leading to titles cut off or misaligned when the page count changes.
- Using low‑resolution images or images with unclear commercial licenses.
- Failing to reserve space for a barcode in the back cover layout.
Thumbnail testing, iteration, and simple A/B experiments
A cover studio should make it cheap to iterate. Export at least three thumbnail variations with different color schemes, title sizes, or focal crops. Show them to a small, genre‑savvy group (author peers, beta readers, or readers in genre groups) and record the preference. Even informal testing often produces clear winners. For promotions, you can reuse winning thumbnails as social images — guidance on turning covers into social campaigns is available in How to Promote Your Book with Social SEO.
How to use internal tools and resources to avoid duplication of intent
If you landed on a product homepage when searching for “cover studio,” you probably wanted details about the tool’s capabilities and how it will help you publish. Rather than duplicating a product landing page, the best complementary content helps authors use the tool correctly: tutorials, preflight checklists, thumbnail‑testing methods, and answers to platform‑specific questions (KDP, ACX, Ingram). Relevant walkthroughs include Amazon Paperback Cover Designer and How to Choose and Use a KDP Cover Template Generator.
Practical tips to improve search visibility for the query “cover studio” (for site owners)
If you maintain a product page and want to capture more of the “cover studio” informational queries, consider these non‑technical content and UX improvements that help users and search engines understand intent:
- Create a clear “how to use” series that walks an author through the exact production steps they must take to go from idea to KDP upload. Link to checklists and editable export examples.
- Include thumbnail examples and downloadable assets that let users test legibility immediately. Practical, downloadable content often improves engagement metrics.
- Add concise, searchable FAQs addressing file formats, spine calculations, and licensing. These answer common search snippets without repeating marketing claims.
- Link to production checklists like the KDP preflight checklist and specific format guides to reduce returns and support requests.
- Offer a quick comparison between thumbnail workflow and full‑wrap workflow so authors know exactly which steps differ by edition.
When to use a designer instead of a cover studio tool
A cover studio tool is ideal for authors who need speed, lower cost, and direct control. Consider hiring a professional designer if:
- Your book requires an original illustration or a complex custom layout beyond templates and stock/AI images.
- You want a bespoke brand identity across multiple books where consistent custom typography and image engineering are crucial.
- The book is part of a premium launch (trade distributor, retail placement) where a custom art budget is justified.
Even when hiring a designer, using a cover studio workflow can help you create clear briefs, test thumbnail directions, and confirm technical sizing before handing files to the designer.
Resources and next steps
Use these Cover Studio AI resources to move from research to production:
- What authors searching for “coverstudio” really want — practical evaluation questions and a step‑by‑step workflow tailored to authors who typed “coverstudio” into search.
- AI Book Cover Creator for Amazon KDP — how to use AI to generate artwork and assemble production‑ready files for Kindle and print.
- How to Create a Professional Amazon KDP Paperback Book Cover in 2026 — an example workflow for a 6×9 paperback, including spine math and export tips.
Searching for “cover studio” is the start of a workflow, not the finish. Decide your formats, test thumbnails first, confirm licensing and resolution, run a preflight, and export both thumbnail assets and print‑ready files. That sequence turns a promising concept into a cover that performs in stores and reads well on bookshelves.
If you want to follow a guided, hands‑on walkthrough of the full process from concept to KDP upload, start with the AI and production guides linked above and use the preflight checklist before you publish.